Just as a painter selects a specific brush to create a soft, sweeping stroke, you as a photographer have the power to transform a standard raw file into a piece of fine art. You’ve likely seen those images that feel less like a captured moment and more like a half-remembered dream: soft light, glowing edges, and colors that feel like a warm hug. This is the world of ethereal photography, and mastering it is about much more than just slapping on a filter. It’s about a deliberate, technical approach to dreamy photography editing that elevates your work from a simple snapshot to a collector-grade masterpiece.
Many photographers struggle to find that balance between "soft and magical" and "blurry and messy." You want your viewers to feel like they are stepping into another realm, not like they forgot to put on their glasses. By the time you finish this guide, you’ll have the technical roadmap to create these looks yourself, ensuring your portfolio stands out in a crowded digital landscape.
The Foundation: Capturing the Ethereal in Your Camera
Before you even touch a slider in Lightroom, your journey toward a dreamy aesthetic begins in the field. While your editing skills are the secret sauce, you need high-quality ingredients to start with. Creating fine art photography requires you to think about light and composition long before you get home to your computer.
Your best friend for this style is the Golden Hour. That soft, directional light just after sunrise or before sunset provides a natural warmth that digital tools can only hope to mimic. When you are out shooting, try backlighting your subject. This creates a natural "rim light" or halo effect that is the cornerstone of ethereal photography. If you’re looking for the perfect locations to practice these techniques, you might want to explore our Lake Tahoe Photography Guide or perhaps the misty landscapes found in the Everglades Photography Guide.
| Feature | Standard Landscape | Dreamy Fine Art |
|---|---|---|
| Aperture | Narrow (f/8 – f/11) for deep focus | Wide (f/1.8 – f/2.8) for shallow depth |
| Lighting | Balanced, high contrast | Soft, diffused, or backlit |
| Focus | Tack sharp throughout | Selective focus with soft fall-off |
| Composition | Defined lines and structure | Minimalist, flowing, and organic |

Essential Lightroom Adjustments for Softness
Once you have your RAW file, it’s time to dive into dreamy photography editing. Your goal here is to reduce the "digital crunchiness" that modern sensors often produce. You want the image to feel organic, like it was captured on film or rendered by a master painter.
Start by lifting your shadows and lowering your highlights. This reduces the dynamic range and gives the photo a flatter, more compressed look which feels inherently softer. But the real magic happens in the "Presence" panel. You’ve probably been told to crank up the Clarity slider for more "pop." To achieve an ethereal look, you are going to do the opposite. Pulling the Clarity slider to the left (negative values) introduces a beautiful, hazy glow that softens the midtone contrast without losing vital detail.
To speed up this process and maintain a consistent look across your entire body of work, you can utilize the Ultimate Lightroom Preset Collection. It’s designed to give you that fine-art starting point so you can focus on the creative nuances rather than the repetitive technical tweaks.
Mastering the Matte Look with Tone Curves
If you want your photos to look like they belong in a gallery like Edin Fine Art, you have to master the Tone Curve. This is where you create the "lifted blacks" signature that defines the dreamy aesthetic.
Open your Tone Curve and place a point in the middle to anchor your midtones. Now, look at the very bottom-left corner of the graph: the black point. Click and drag that point upward. You’ll notice that the darkest parts of your image turn from a deep, ink-black into a soft, charcoal gray. This "fades" the shadows and provides an immediate film-like quality.
To complement this, go to the top-right corner: the white point: and drag it down slightly. This mutes the brightest whites, ensuring nothing in your image feels too harsh. By compressing the tonal range from both ends, you ensure your fine art photography feels cohesive and gentle on the eyes.

Creating the "Glow" in Photoshop
While Lightroom is great for global adjustments, Photoshop is where you add the finishing touches that truly make a photo feel "dreamy." One of the most effective techniques for ethereal photography is a variation of the Orton Effect.
- Duplicate your layer: Open your edited image in Photoshop and press Cmd/Ctrl + J.
- Apply Gaussian Blur: Go to Filter > Blur > Gaussian Blur. Set the radius to somewhere between 15 and 30 pixels. Your image will look like a blurry mess: don't panic.
- Adjust Blend Mode: Change the blending mode of this blurry layer to "Soft Light" or "Screen."
- Lower Opacity: This is the most important step. Drop the opacity of that layer to around 10-15%.
This technique creates a subtle bloom around the highlights and a soft "glow" that permeates the entire frame. It’s the difference between a photo that looks "edited" and one that looks "magical." For more advanced post-processing tips, you can always check out the tutorials at Edin Studios.
Color Grading for Mood and Emotion
Color is the silent storyteller in your image. For a dreamy look, you generally want to move away from primary, vibrant colors and toward a more muted, pastel palette. You can achieve this in the HSL (Hue, Saturation, Luminance) panel.
Try desaturating your greens and blues slightly, as these colors often feel very "digital" when they are too vibrant. Instead, lean into warmer tones like oranges and yellows in the highlights, and perhaps a touch of teal or soft purple in the shadows using the Color Grading wheels. This creates a complementary color harmony that feels intentional and sophisticated.
If you’re shooting in cities like New York or Miami, the lighting can be harsh. Using these color grading techniques can help soften the concrete jungle. For those specific vibes, our New York City Photography Guide or the Miami Self-Driving Photography Guide offer great insights into how to handle urban light for fine art results.
Final Touches: Grain and Selective Sharpening
The final step in dreamy photography editing is adding back a bit of texture. Digital files are often "too clean," which can make them feel sterile. By adding a small amount of Grain (found in the Effects panel in Lightroom), you mimic the texture of traditional film. This breaks up the smooth gradients and adds a tactile quality to the image that collectors love.
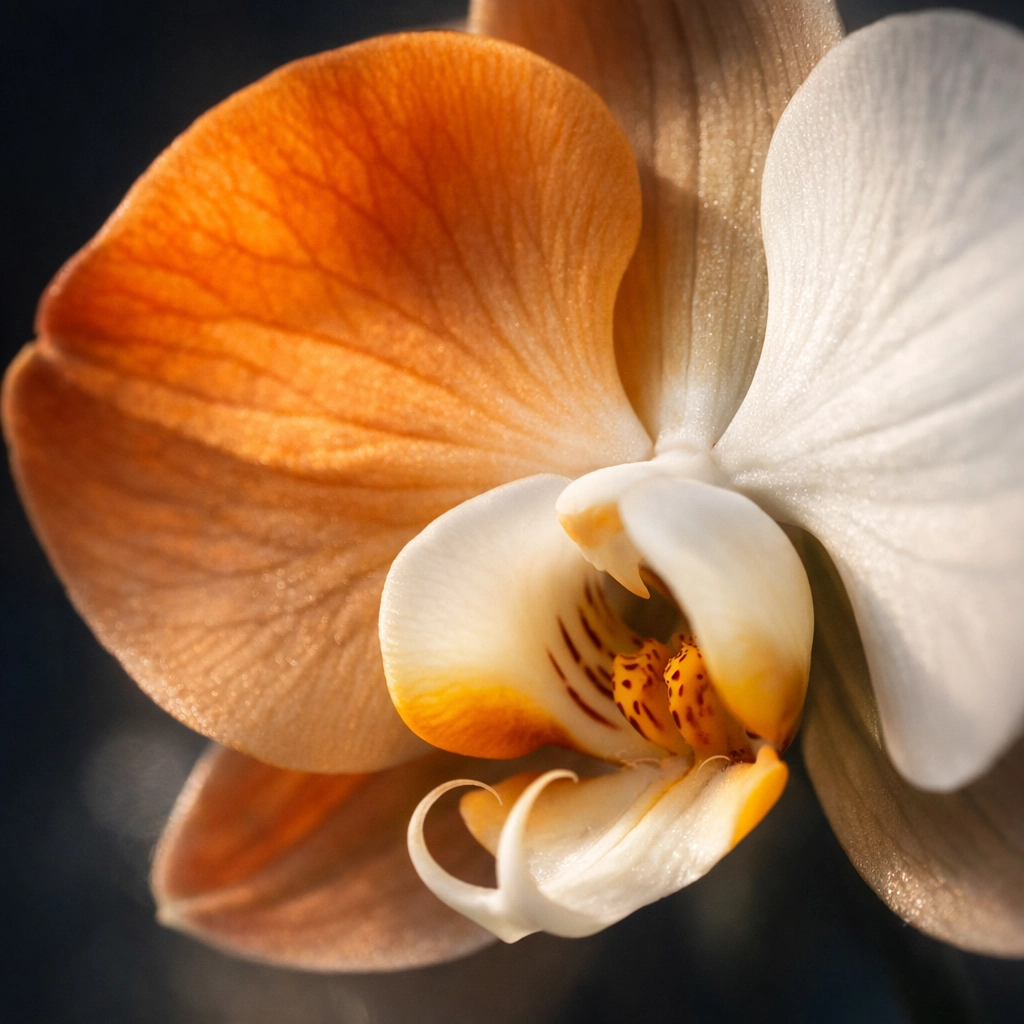
However, "dreamy" shouldn't mean "out of focus." You still need a point of interest for the viewer's eye to land on. Use a masking brush to selectively sharpen the most important part of your image: perhaps the eyes of a subject or the petal of a flower. This contrast between the sharp subject and the soft, glowing environment is what creates the "pop" in fine art photography.
| Step | Action | Benefit |
|---|---|---|
| 1. Texture | Add subtle grain (10-15) | Removes digital sterility |
| 2. Masking | Sharpen only the subject | Maintains focus and intent |
| 3. Vignette | Add a soft, large feather vignette | Draws the eye inward |
| 4. Check | Zoom out and look at the "vibe" | Ensures the mood is consistent |
Avoiding Common Pitfalls
It’s easy to go overboard when you first start experimenting with these techniques. The most common mistake is over-softening the image to the point where it loses all structure. Remember, the dreamiest photos still have a foundation of good composition and intentional light.
Another trap is inconsistent color grading. Ensure that your color palette remains cohesive across your entire series. If one photo is warm and golden, and the next is cold and blue, the "dream" is broken for the viewer. This consistency is what separates a hobbyist from a professional whose work is featured at Edin Fine Art.
For more insights on how to elevate your work, explore our site at blog.edinchavez.com for a deep dive into hundreds of tutorials and guides. Whether you are looking for an Atlanta Event Photographer or trying to master the mist of the Pacific Northwest, we have the resources to help you succeed.
With these considerations, you are now equipped to take your RAW files and turn them into ethereal visions. Photography is about more than just documentation; it’s about sharing your unique perspective with the world. By mastering these editing techniques, you’re not just making photos; you’re creating an experience for your audience. Happy editing!
Fine Art Photography Prints
Own a museum-quality archival print by Edin Chavez
Hahnemühle archival paper · Free worldwide shipping · Ships in 5–7 days · From $95
BROWSE PRINTS LIMITED EDITIONS